Updated July 2026. Organizing study time is hard because entertainment and school both feel urgent. Time only works when you decide priorities, put them on a week you can see, and protect the blocks that matter.
This guide shows a practical way to organize study hours next to real classes — using a free weekly grid. Open the builder, or read the dedicated study schedule maker page first.
1. Determine priorities before you fill the calendar
List must-do work (exams, problem sets, labs) separately from nice-to-do work. Hard, important tasks often feel least appealing — schedule them first in your best focus hours, not last.
2. Place classes first, then study
Your lectures already claim hours. Map them with a class schedule maker or weekly schedule maker, then drop study sessions into gaps that actually exist. AI “study generators” that ignore your real timetable fail by Wednesday.
3. Use short blocks you will keep
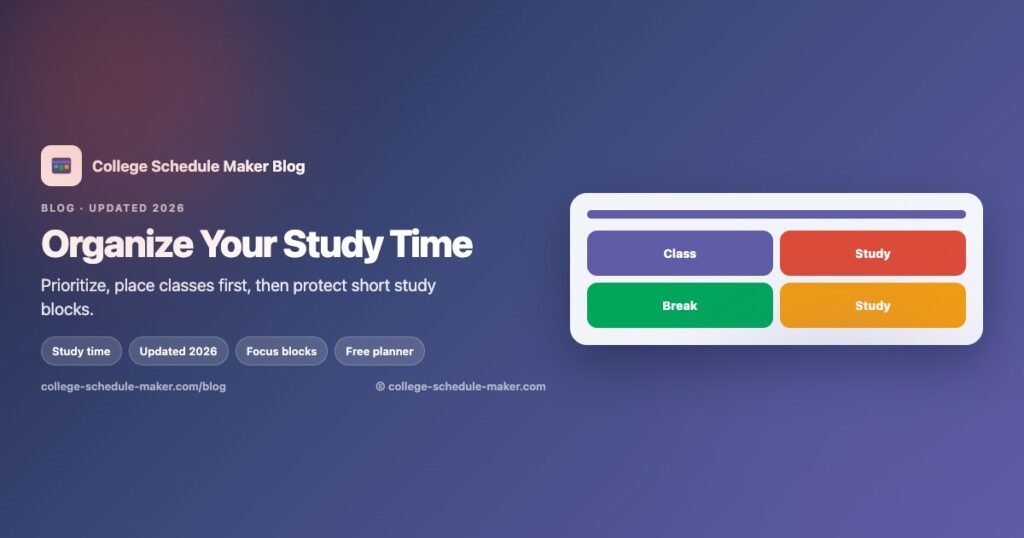
Thirty to fifty minutes with a break beats a heroic four-hour block you abandon. Name blocks clearly (“Study — Chem review”) and color them differently from lectures.
4. Match subjects to energy
Morning person? Put quantitative work early. Night owl? Protect a late focus window and stop pretending 7 a.m. will magically work. Be honest on the grid — see also student schedule maker.
5. Batch admin and protect deep work
Email, forms, and group-chat logistics eat focus. Batch them. Keep one or two deep-work slots sacred each week for the course that scares you most.
6. Review weekly and adjust
Every Sunday, ask: What did I skip? What took longer? Move blocks instead of abandoning the whole plan. Print or save a PNG when the week stabilizes — printable tips.
7. Keep tools simple
One weekly planner plus a phone calendar for deadlines is enough for most students. Compare free options in our 2026 schedule maker roundup. No account required to start:
Organize study time in the free planner → · Free schedule maker · All guides