Step-by-step guide
How to Create a Class Schedule Online
Follow these steps to create a class schedule online in a few minutes — no spreadsheet templates required.
Before you start
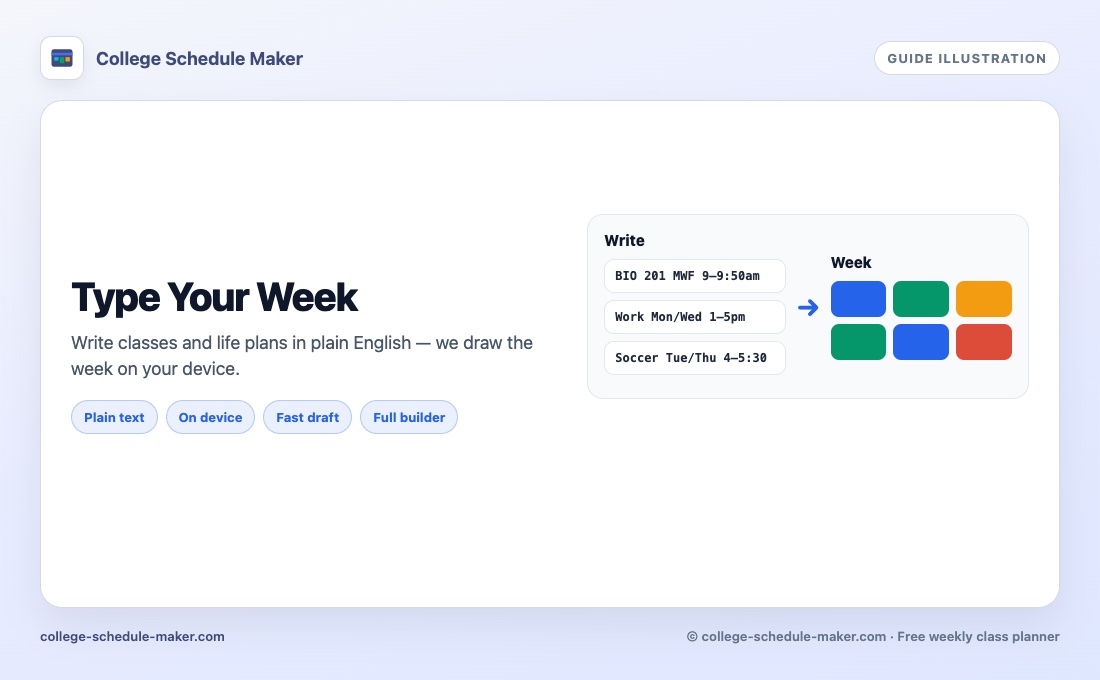
Gather section times from your registration system or syllabus PDFs. Note buildings if walking time matters. Decide whether weekends belong on the grid. Then open the free planner — you do not need an account to create a class schedule online. Already have a typed list of times? Skip ahead with Type your week and polish in the builder afterward.
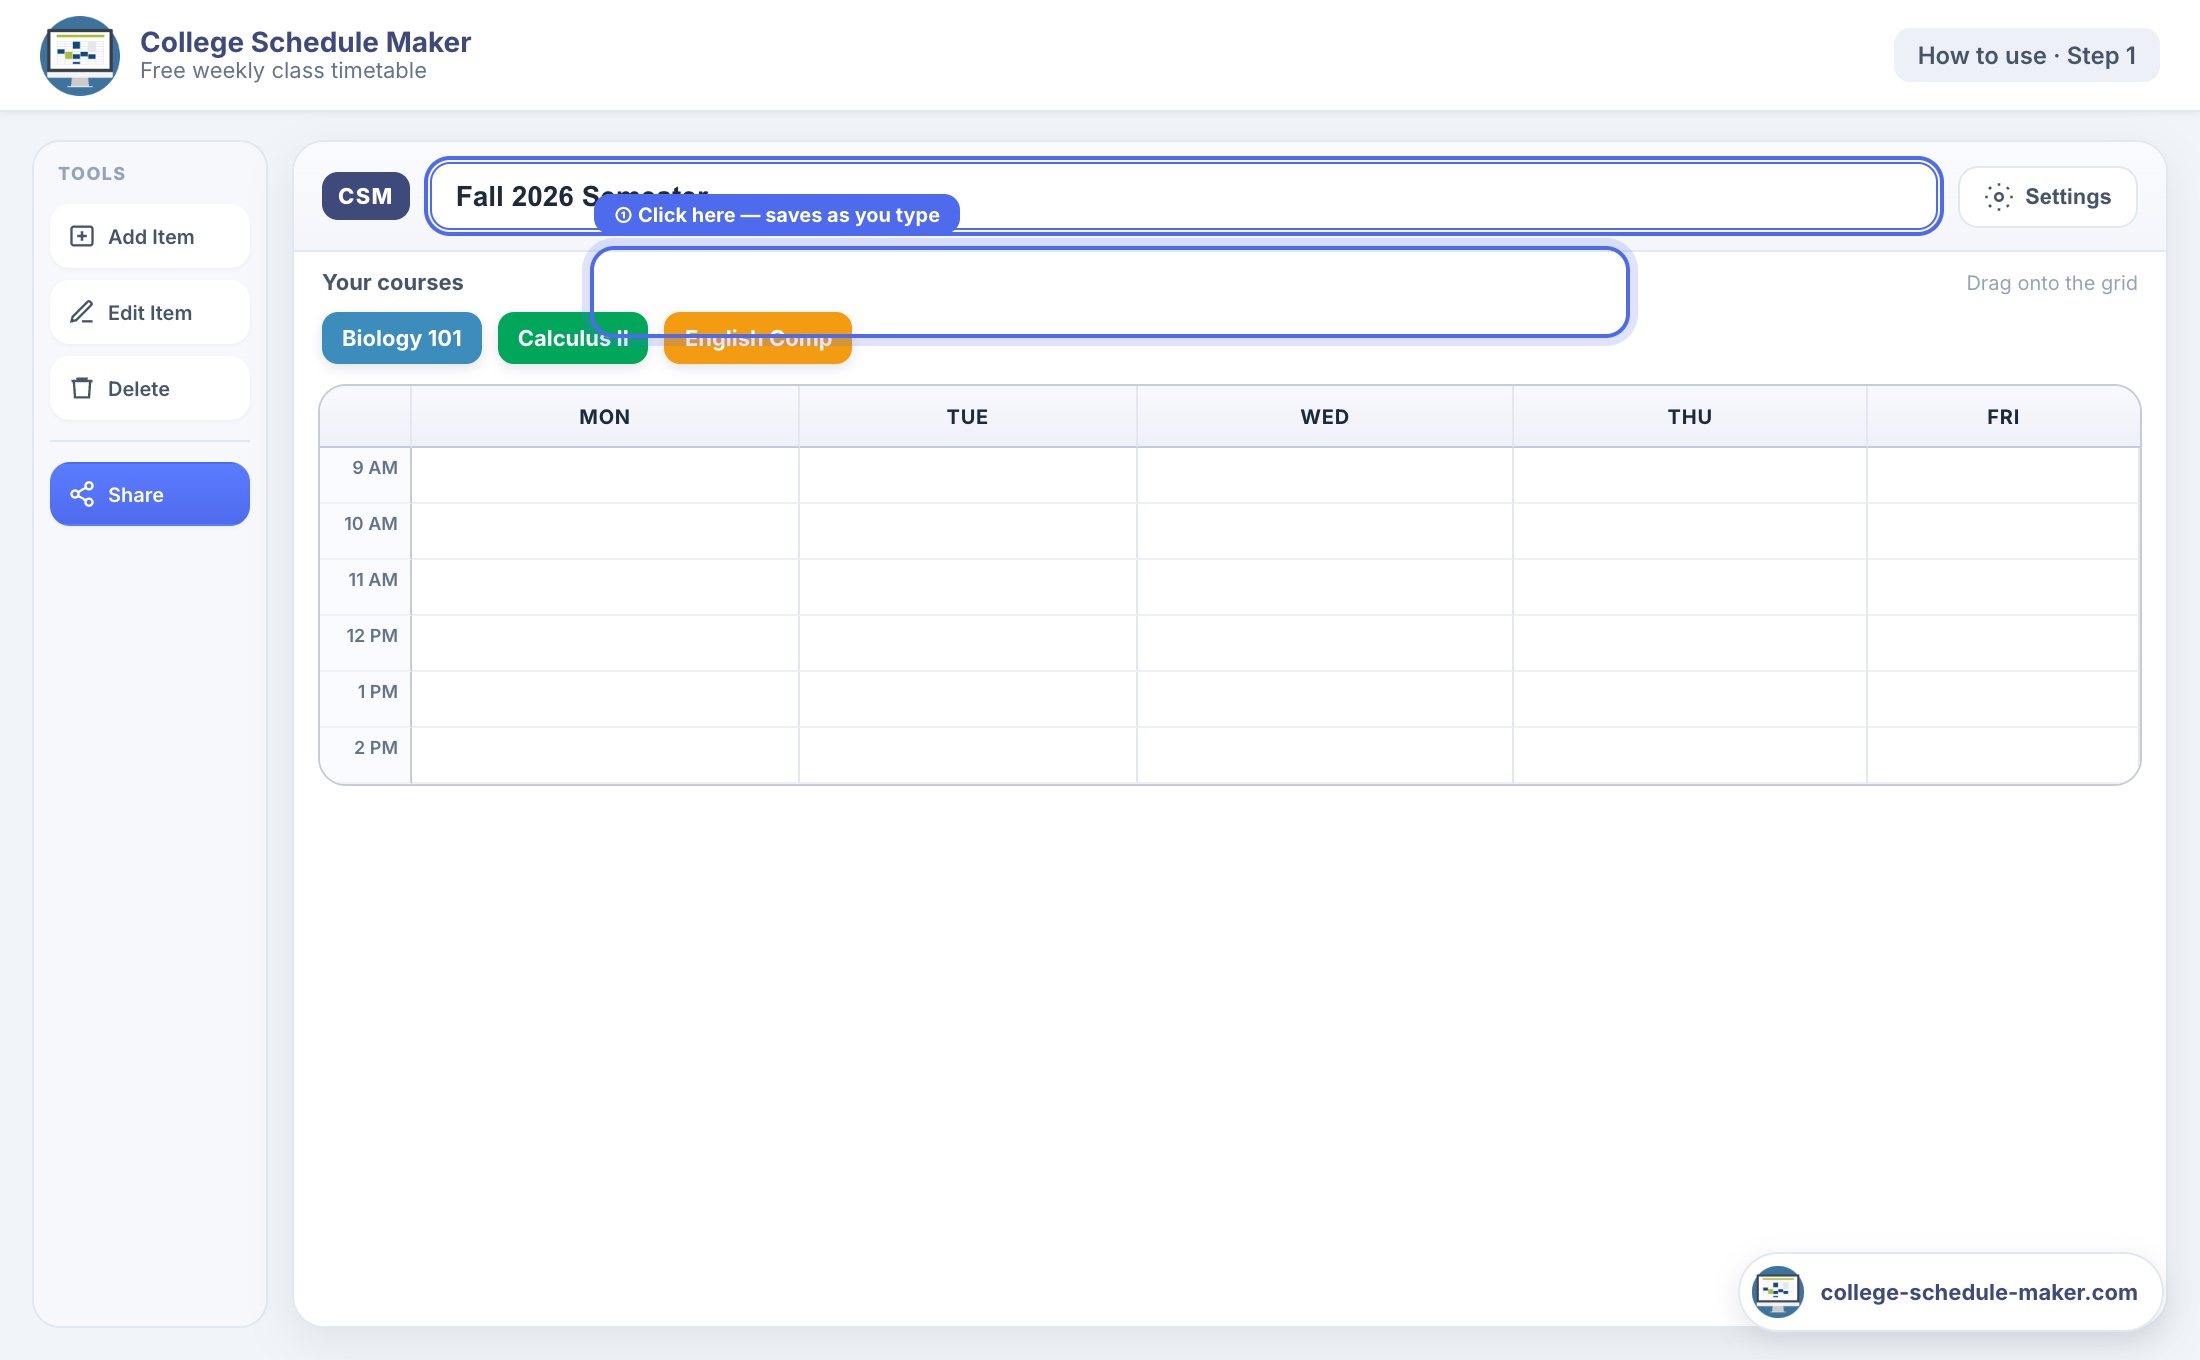
Step 1 — Open the builder and name the week
Go to the College Schedule Maker builder. Click the title bar and type something specific (“Spring 2026 — Comp Sci”) so exports and shares stay identifiable. The title saves as you type.
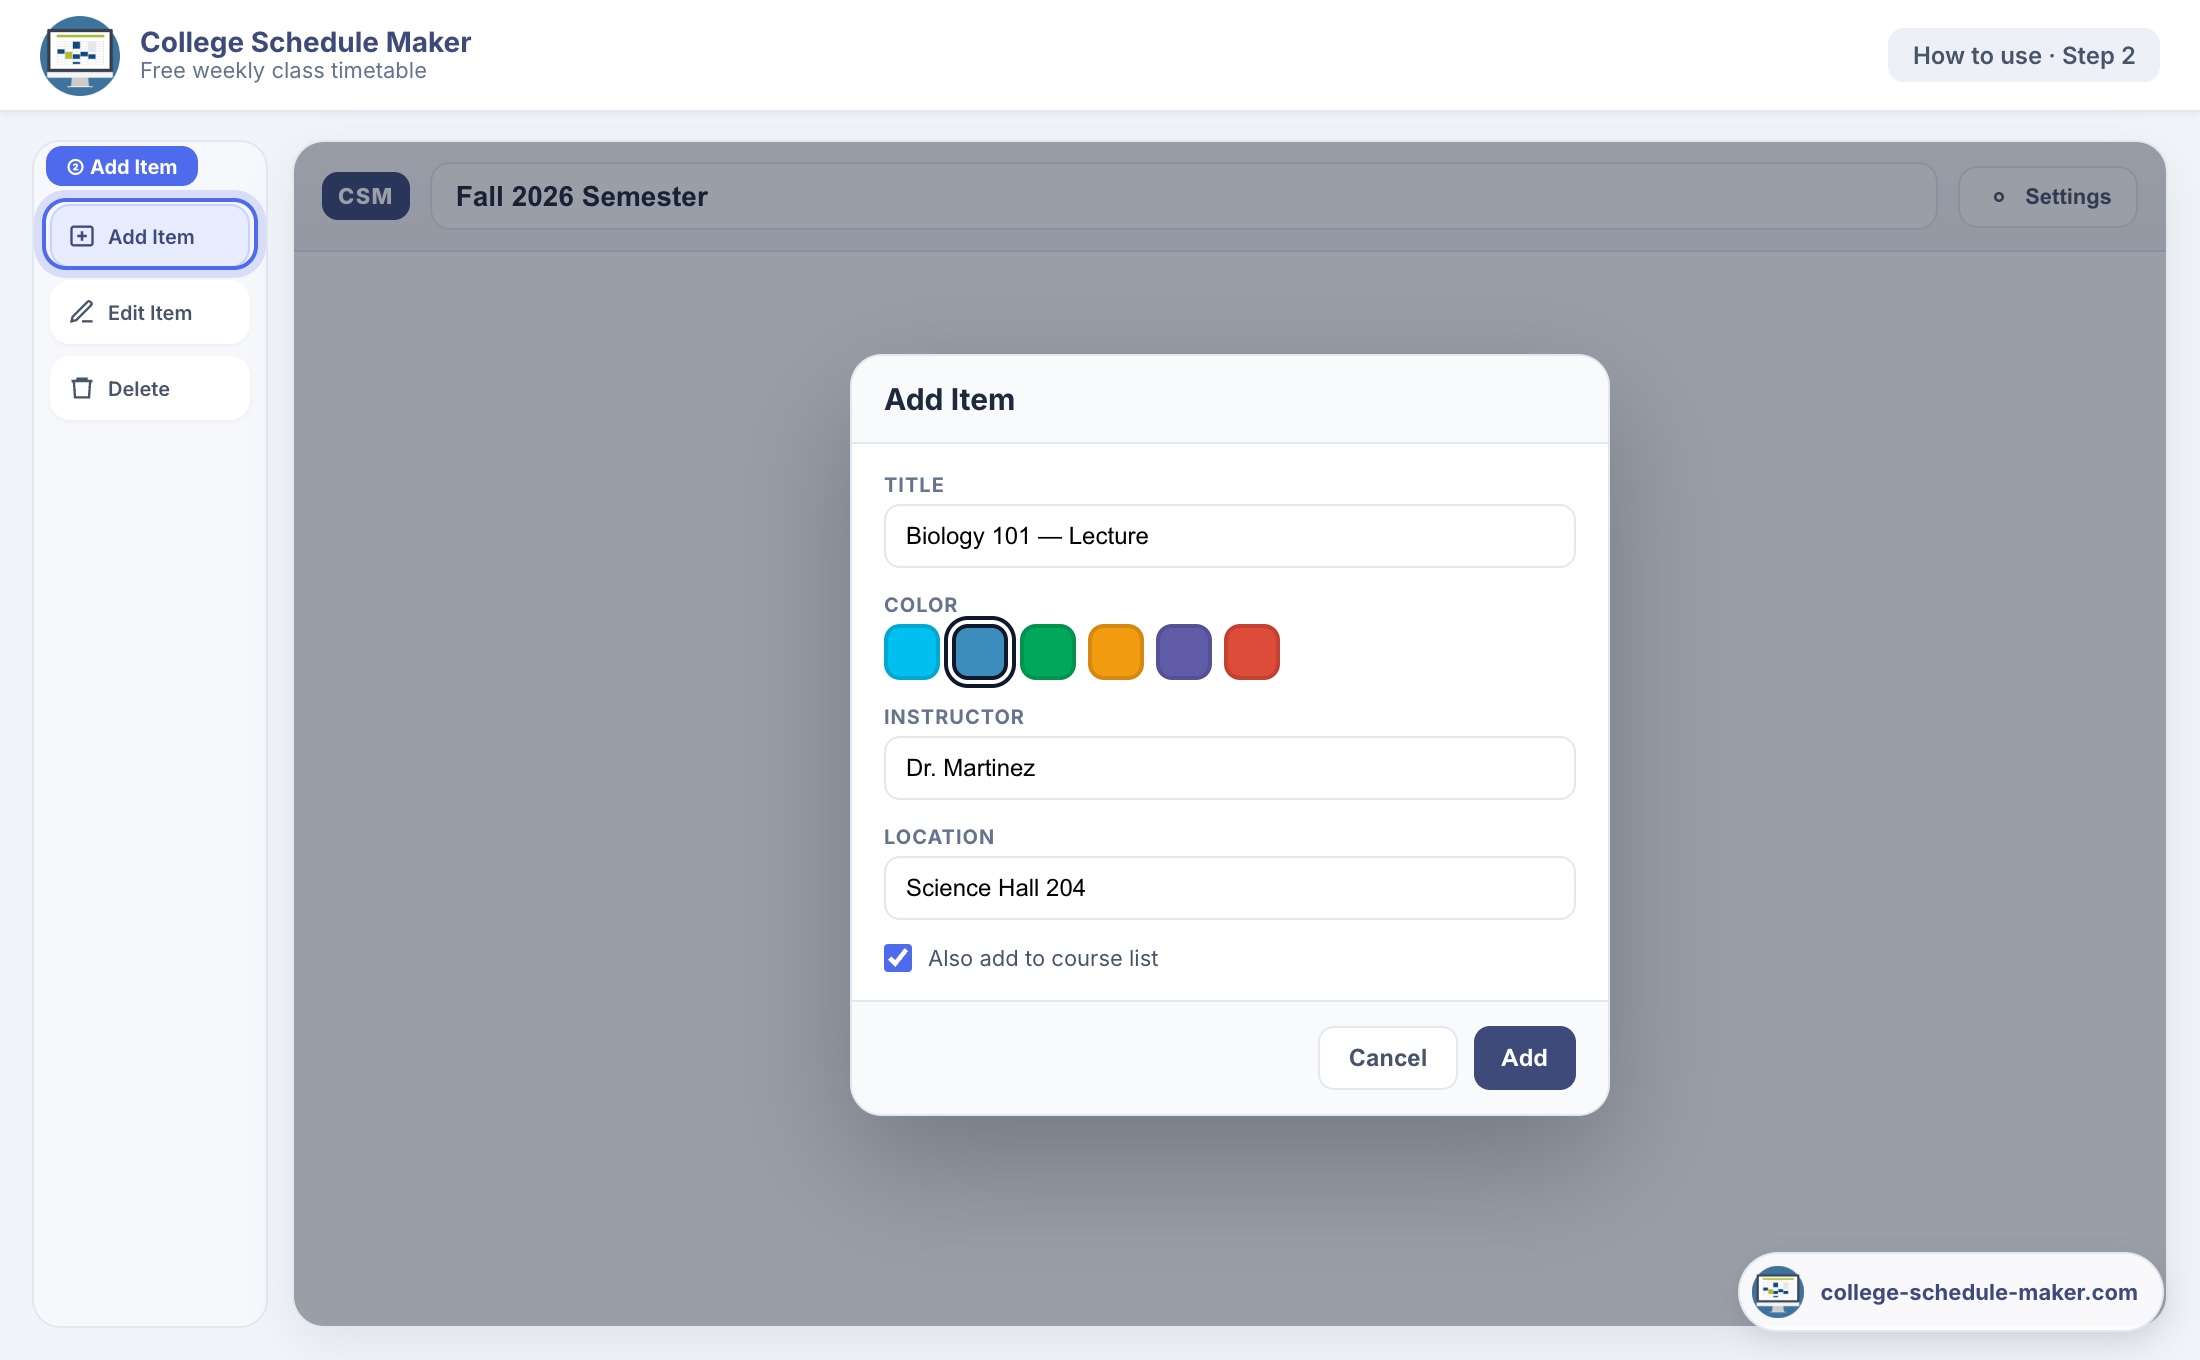
Step 2 — Add each course
Click Add Item. Enter the course title, pick a color, and optionally add instructor, location, or lecture code. Keep “Also add to course list” checked so the same class can land on multiple days without retyping.
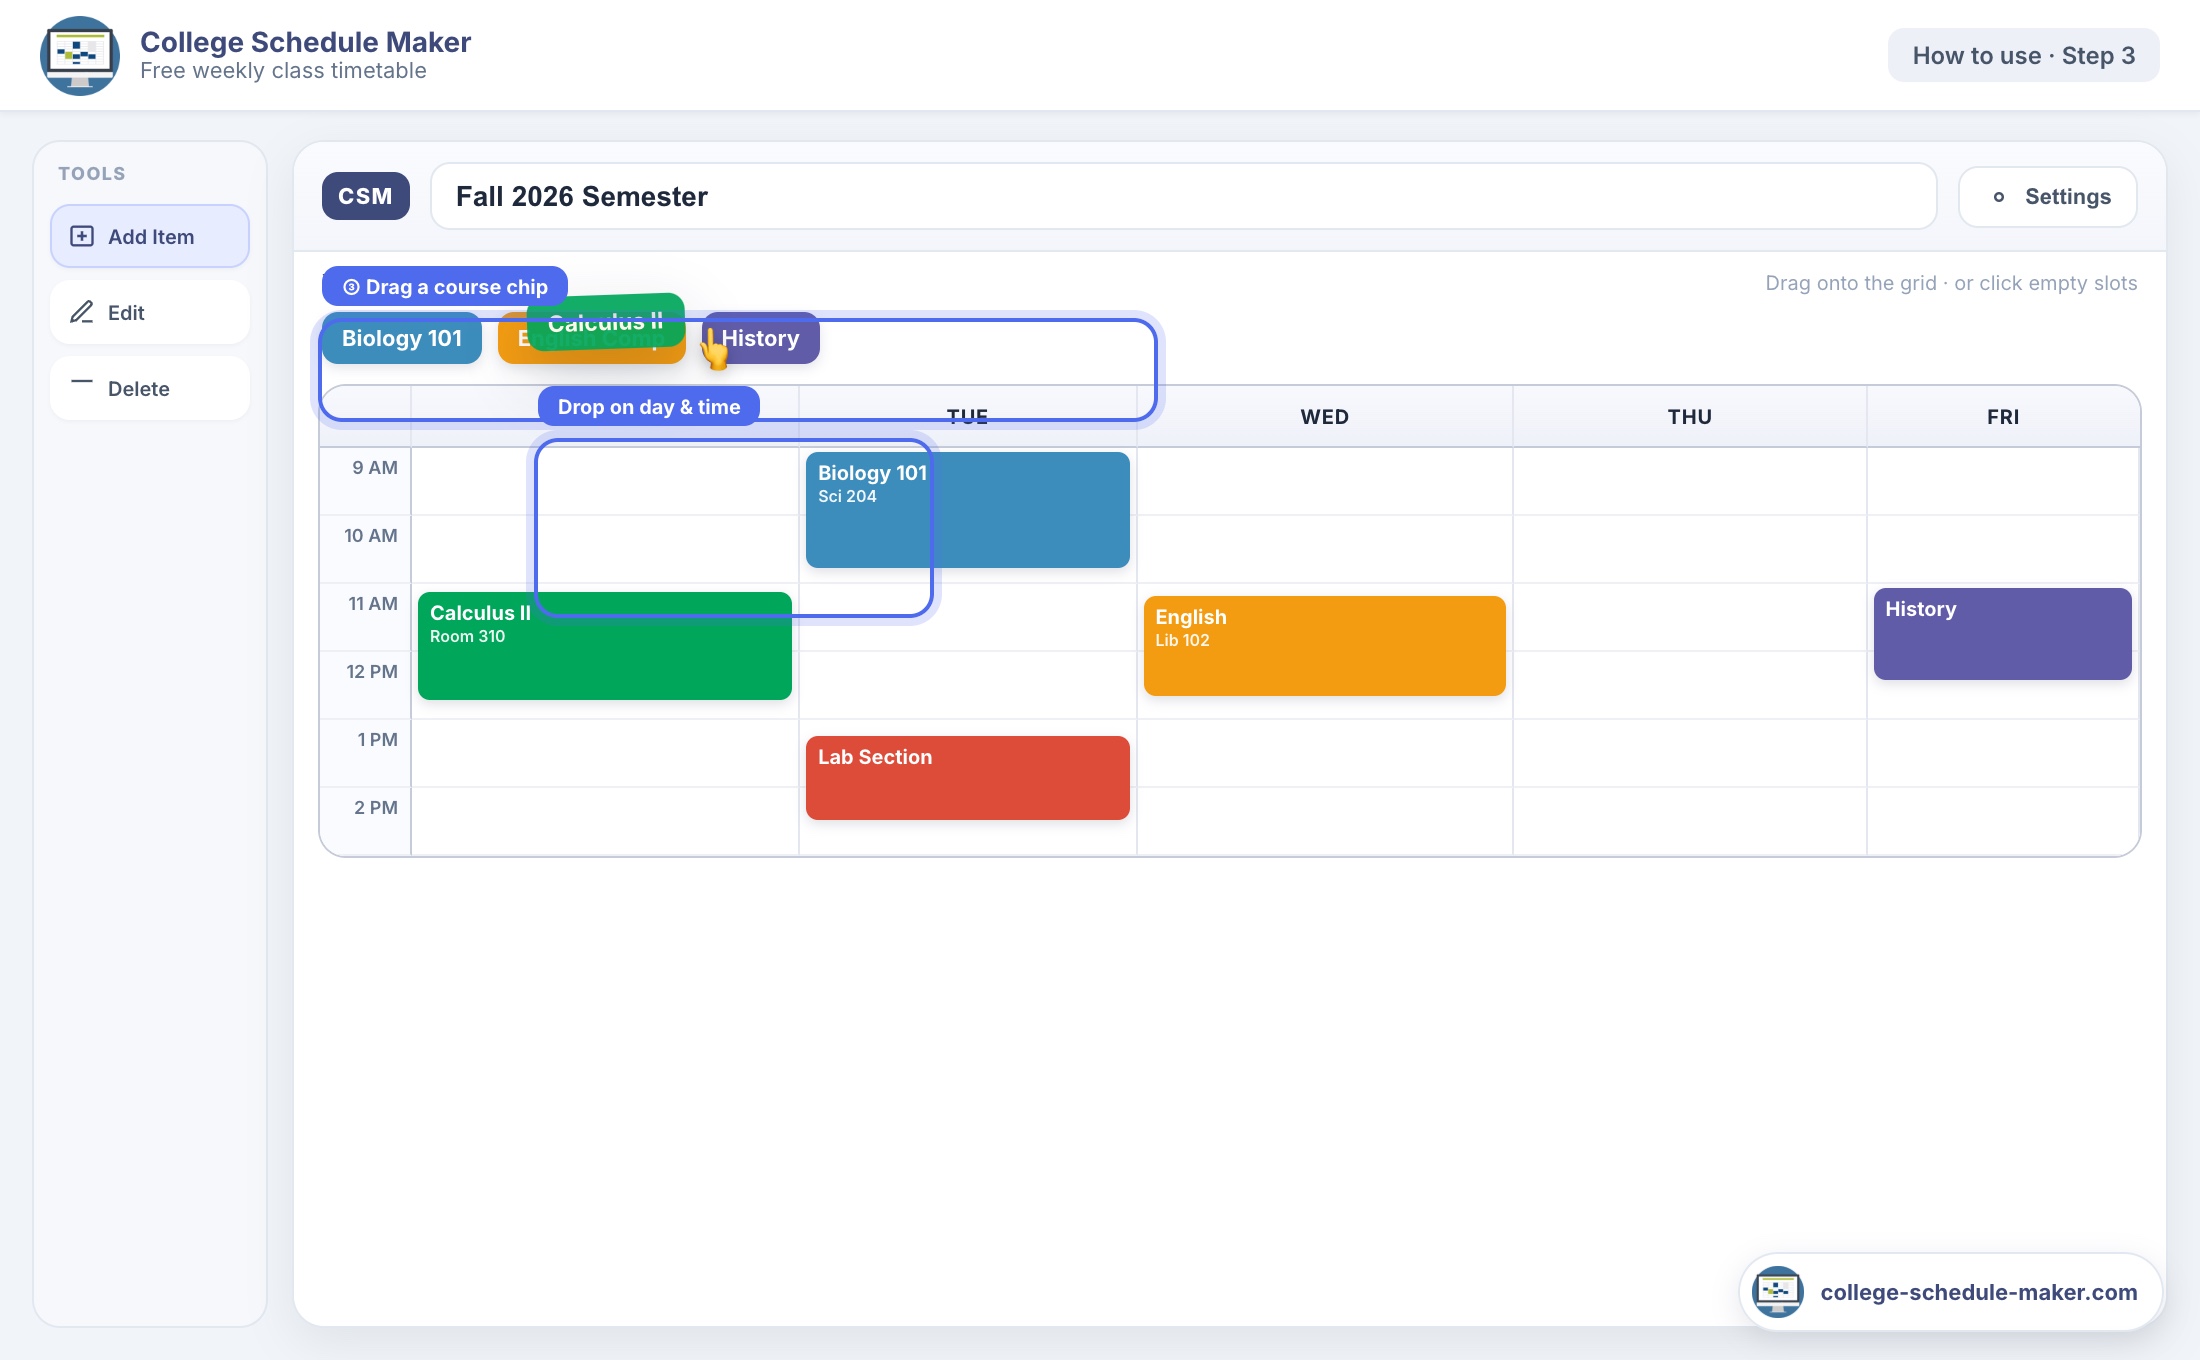
Step 3 — Place blocks on the weekly grid
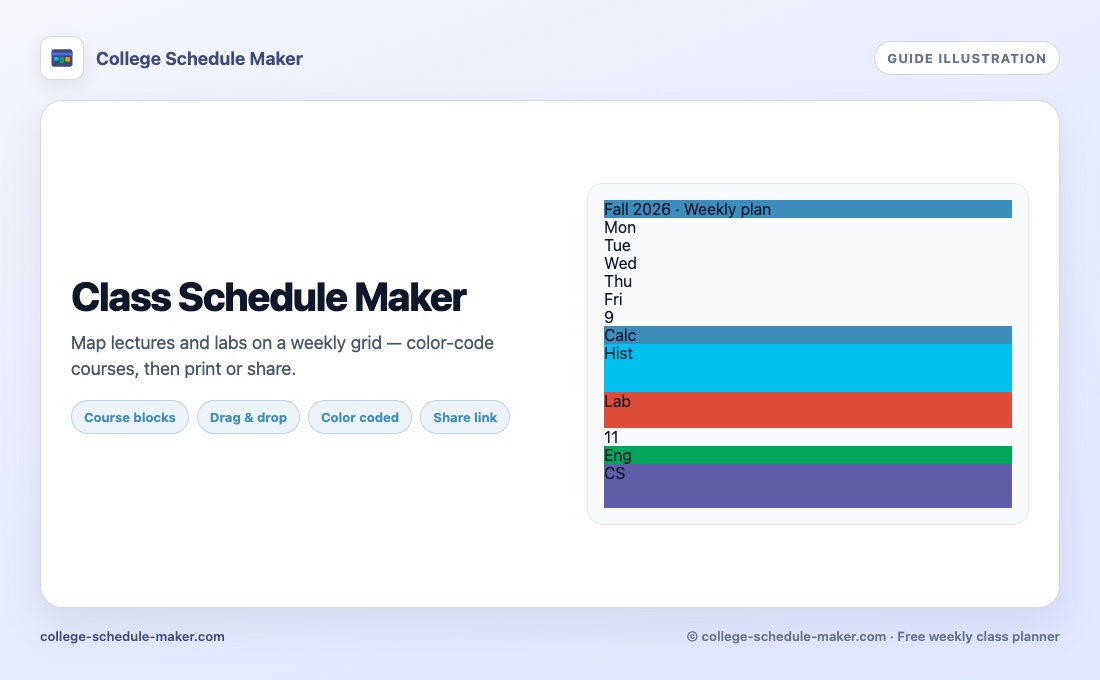
Drag a colored chip onto a day and time, or click an empty slot. Pull the edges to match the real duration. Repeat for every meeting pattern. If two blocks overlap, move one before you finalize registration.
Step 4 — Adjust settings, then print or share
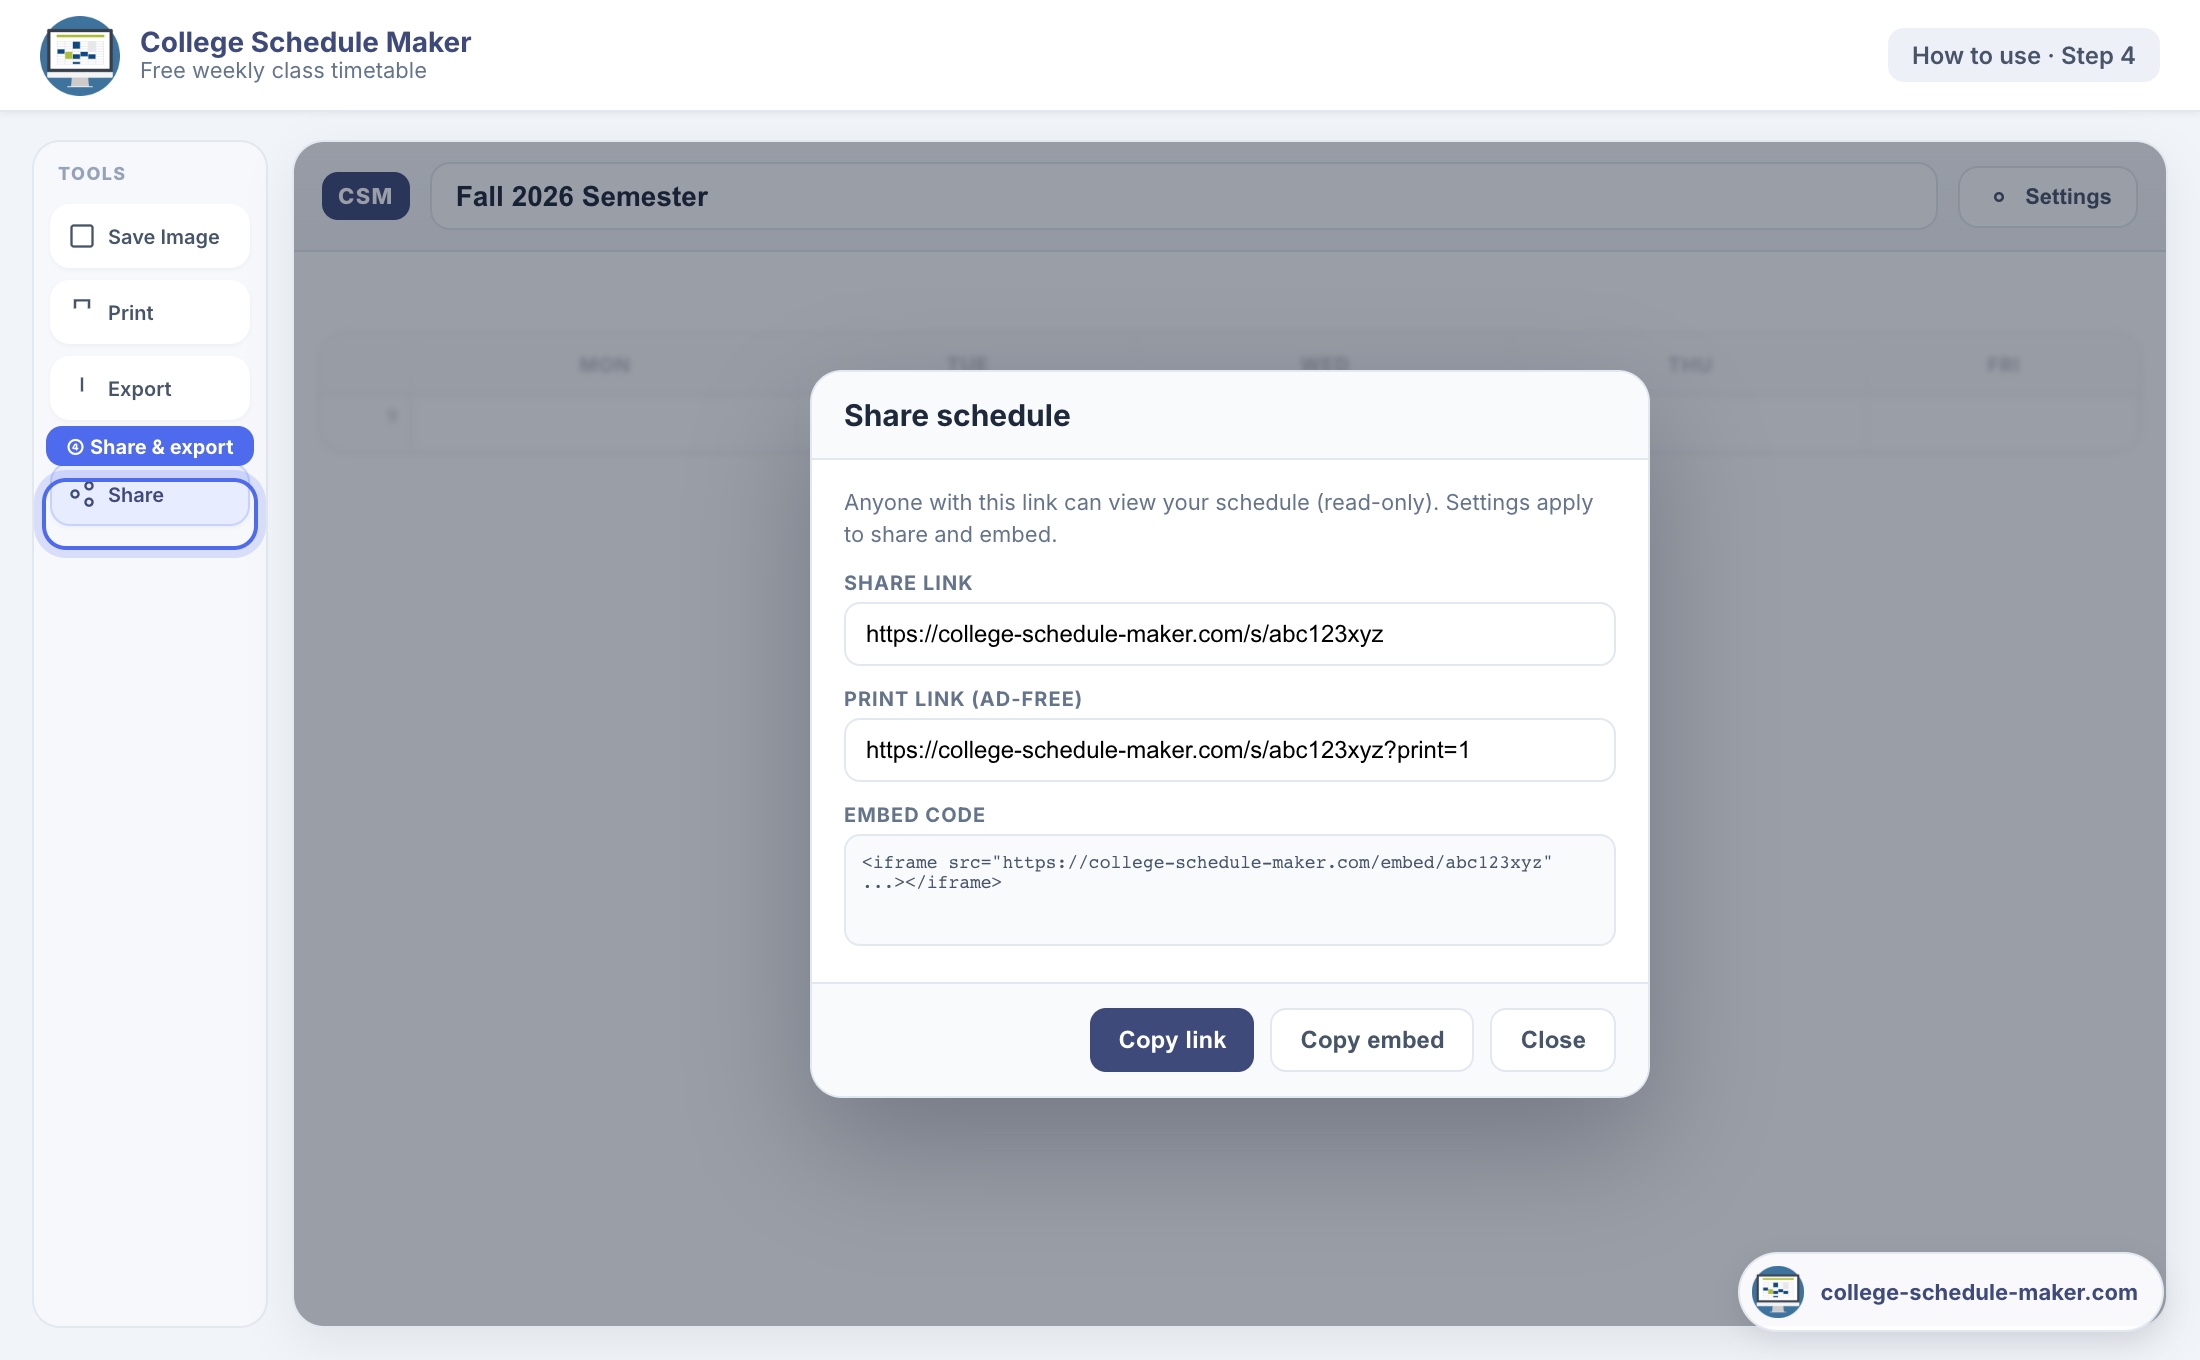
Open Settings to change visible days, hour range, slot size, or 12-hour vs 24-hour labels. When the week looks right, use Print, Save Image, or Share. Details on paper output are in printable class schedule.
Common mistakes when you make a class schedule online
- Forgetting labs or discussion sections that meet less often
- Ignoring walk time between distant buildings
- Stacking every hard class on the same two days
- Never exporting a backup before clearing browser data
More product context: class schedule maker, weekly schedule maker, college schedule builder.
Quick checklist before you print
- Every meeting pattern from the syllabus is on the grid
- Overlaps are fixed (or intentionally accepted)
- Settings hours match when you are actually on campus
- You exported JSON or saved a Share link as a backup
Drafting for registration week? See the semester planner guide for a term-focused workflow.
FAQ
How long does it take to create a class schedule online?
Most students finish a first draft in under ten minutes: list courses, drop them on the week, then adjust times.
Can I edit the schedule after I create it?
Yes. Use Edit Item, drag blocks to move them, or resize edges to change duration. Changes save automatically.
How do I check for overlapping classes?
Place every section on the same week grid. Overlaps stack visually so you can move a block before you print or share.
Do I need a Word or Google Calendar template?
No. Build the week in the browser, then print or save a PNG. Calendar apps remain useful for one-off deadlines.